Sitewide Search
What's new.../ Gallery
- 28 Dec 2012
1972 Stock Westy - 27 Nov 2012
Gareth's 21 Window Samba - 20 Nov 2012
The Beast Is Back ! - RSS Feed

- More >>>
More Info
How to...
Projects
Gallery/Resources
Gareth's 21 Window Sambaposted on 27 November 2012 | posted in Gareth's 1967 21 Window Samba | ( 1 ) CommentsHeres Gareth's 21 Window Samba it has previously been partially stripped and already had the welding work carried out to the bottom half. It is in for a full bare metal body restoration inside and out. Here's how it arrived! 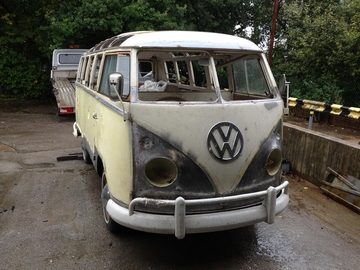 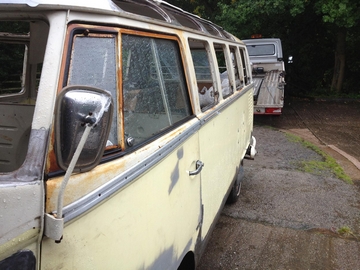  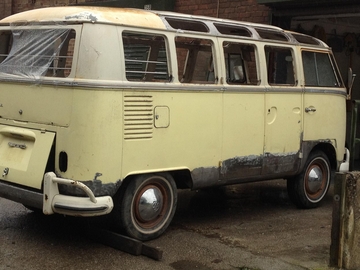 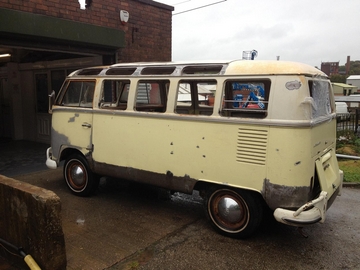 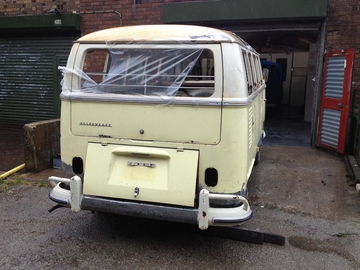 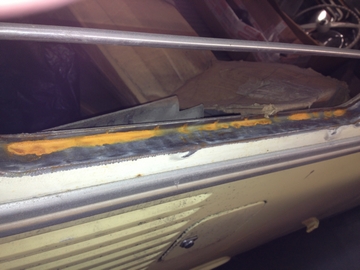 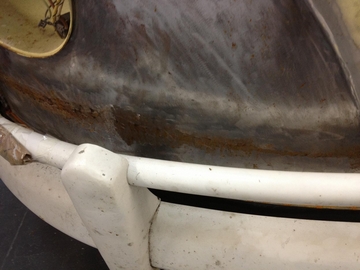 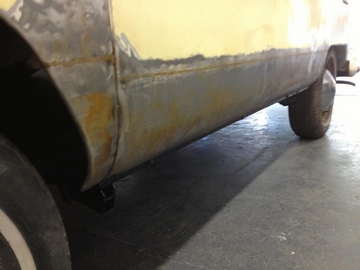 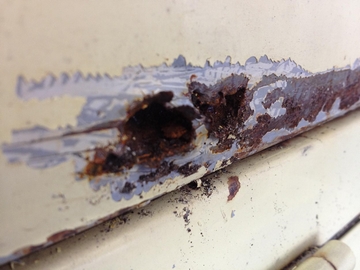 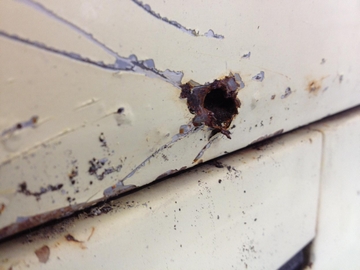 Plenty of panel beating to do 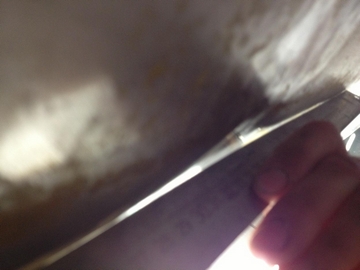 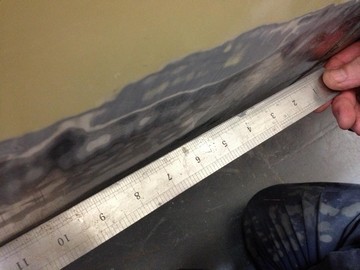 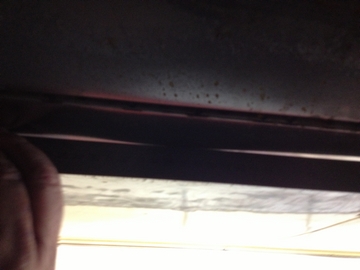 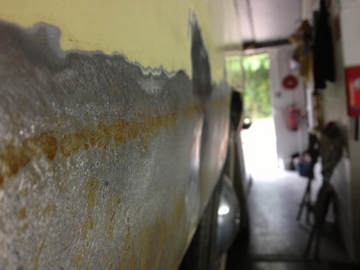 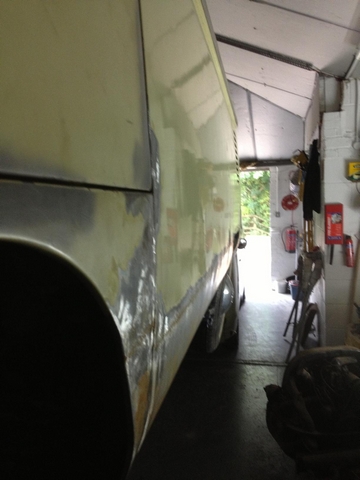 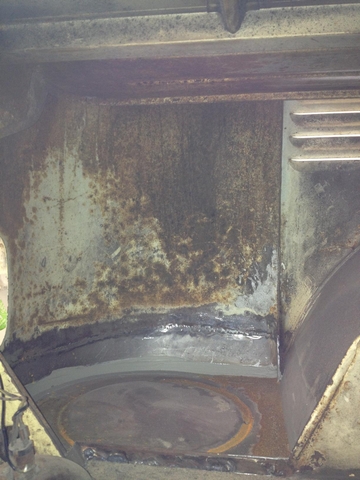 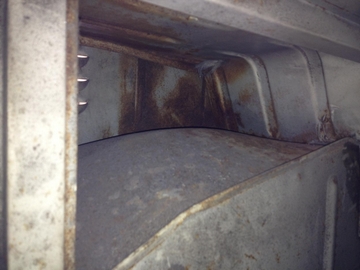 Door was sticking out badly but quickly rectified although we will hang them properly before paint 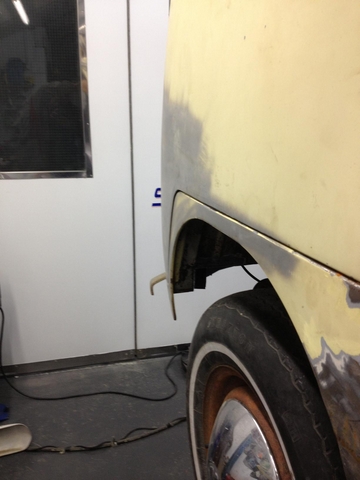 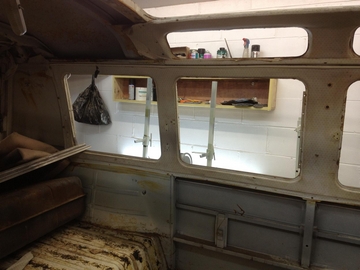 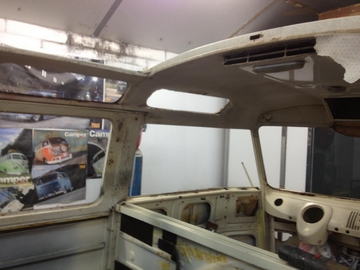 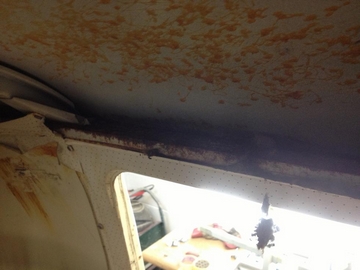 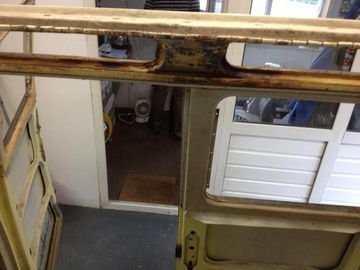 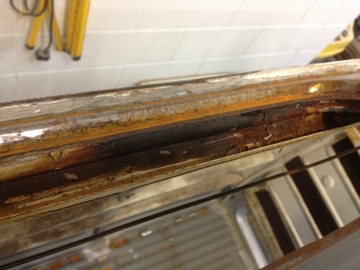 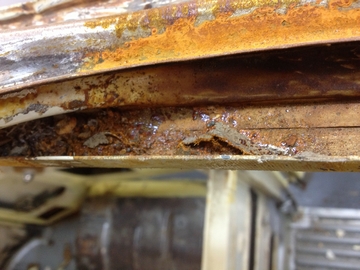  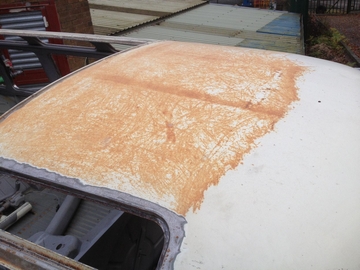 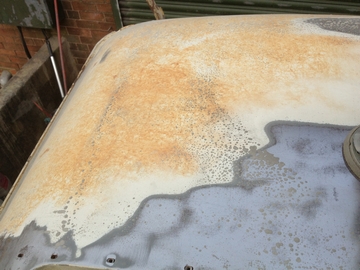 We decided to sandblast the four wheels, inside cab area, rear window frames, bulkhead, body seams, apatures, bumpers and all accessories 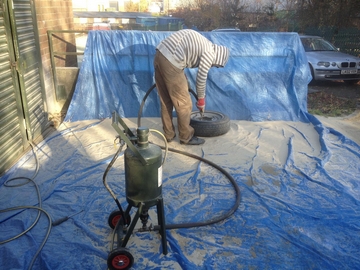 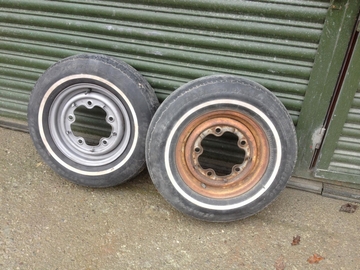 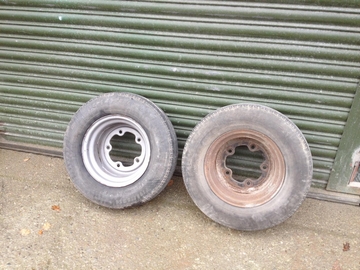 Due to it having a lower front previously it was pretty warped, as the weld was very strong but thin the puller was just ripping holes in the metal. The only way of repairing this low spot without abusing the use of filler was to lead fill it which made it a lot more solid and more true to the shape. 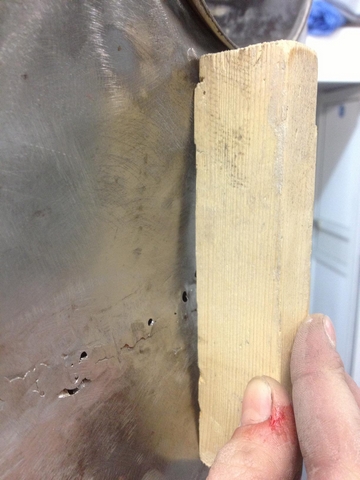 Firstly the weld was filled so it didnt have any holes left  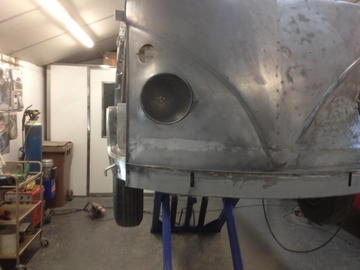 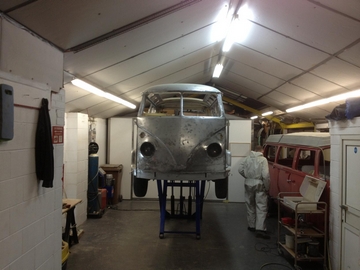 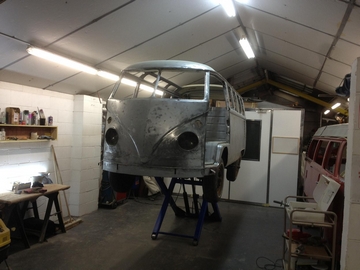 More Rot found 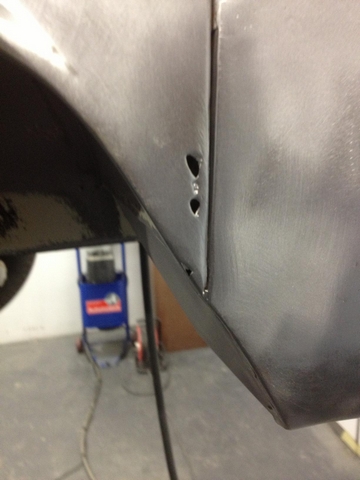 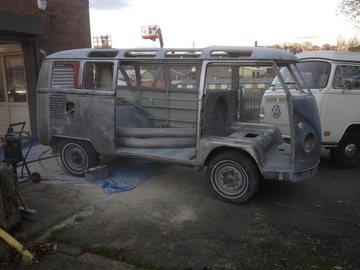 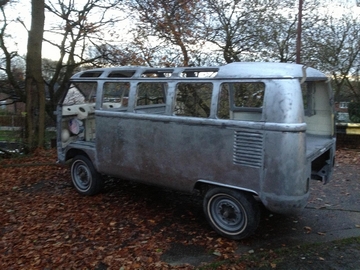 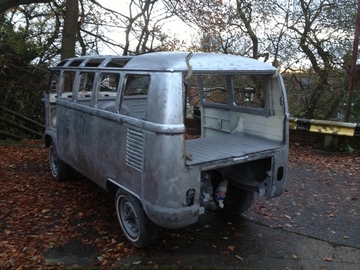 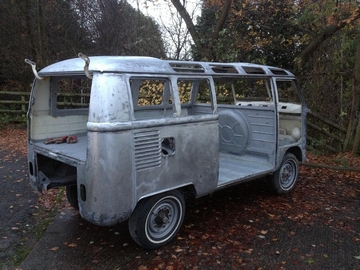  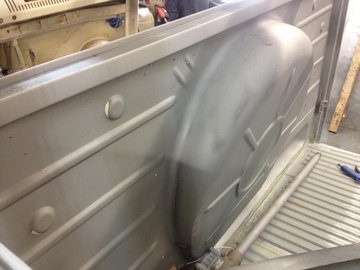 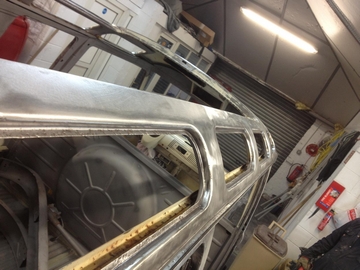 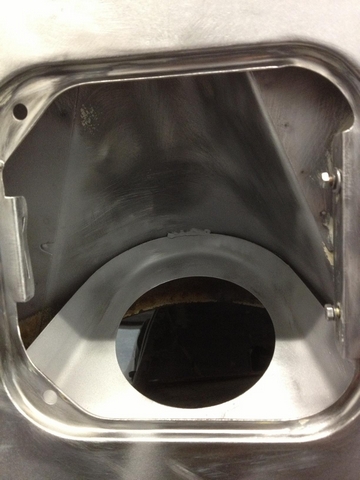 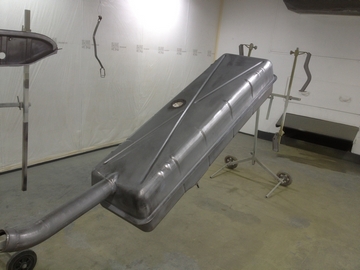 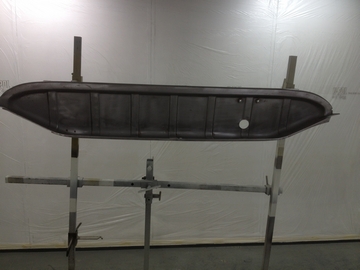 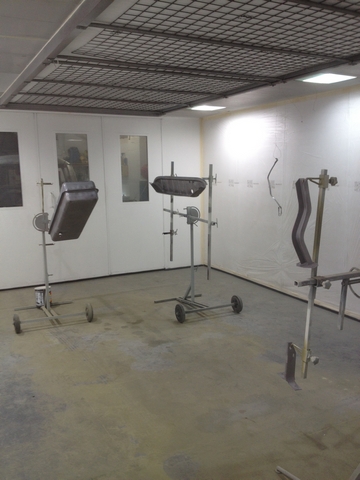 Tank and bumper irons Blasted, primed and painted to a semi gloss finish 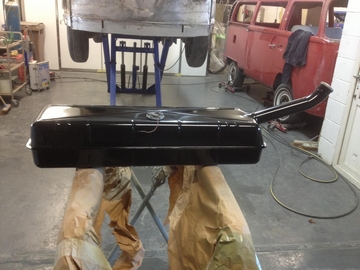 Door bottoms 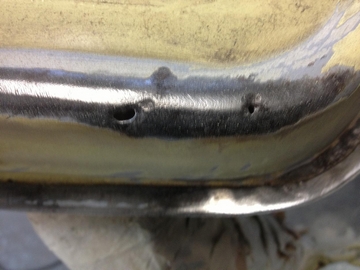 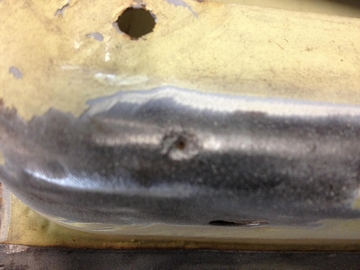 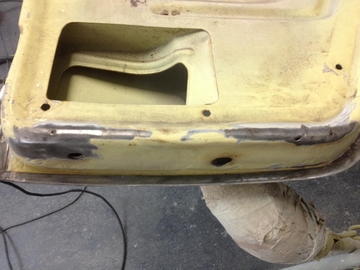 Welded 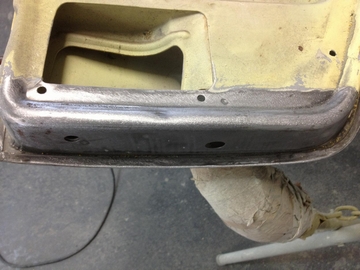 Roof beck 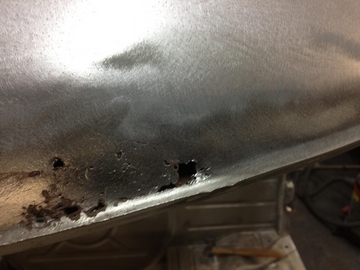 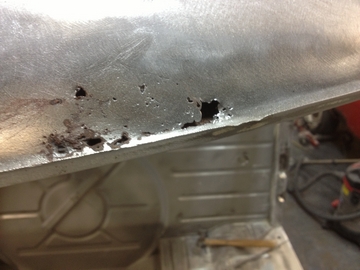 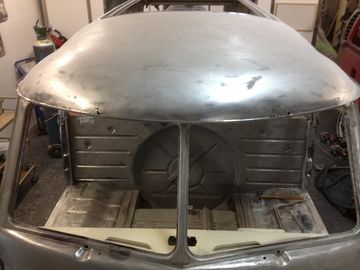 Door bottoms 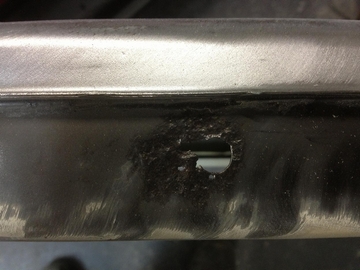 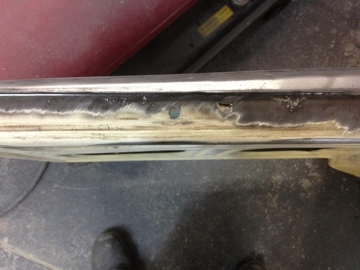 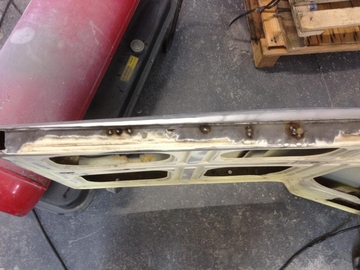 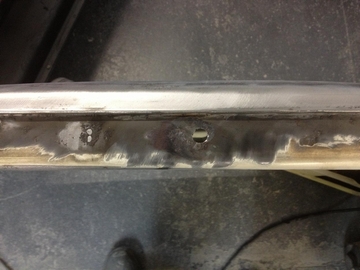 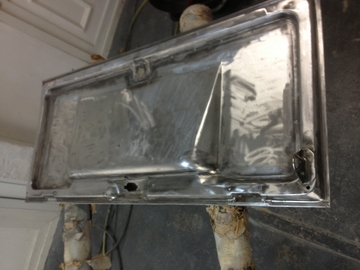 Plenty of heat shrinking going on to get the long panel straight 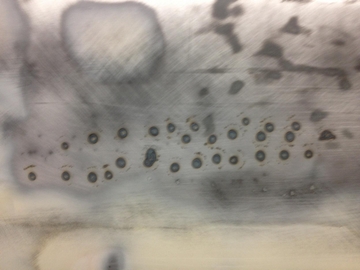 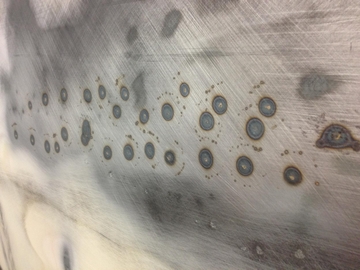 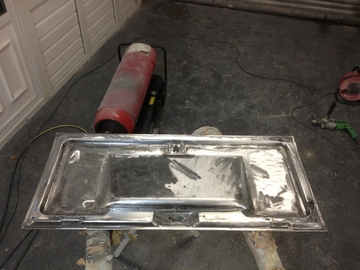 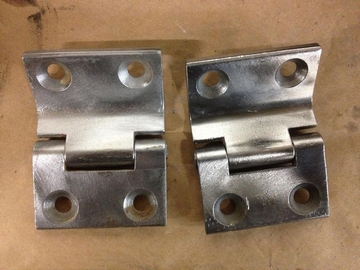 Whilst checking the edges we noticed there was no thread inside the cargo door hinge housing 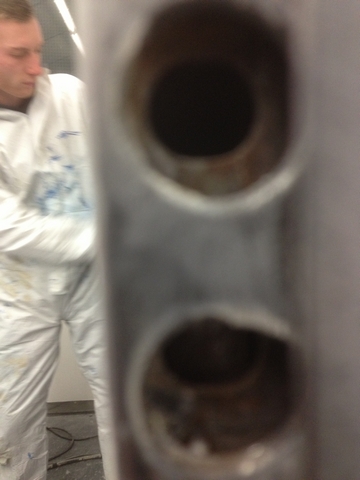 Here's how it should look  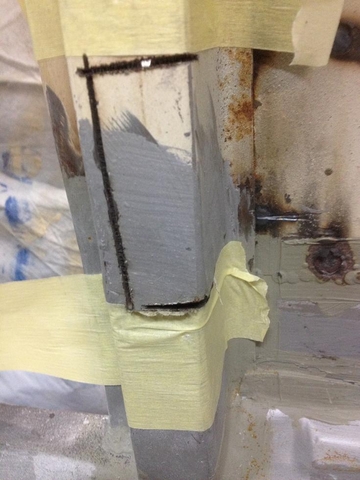 Here's what we found when cut open, the thread had bent and slipped down in it's collar 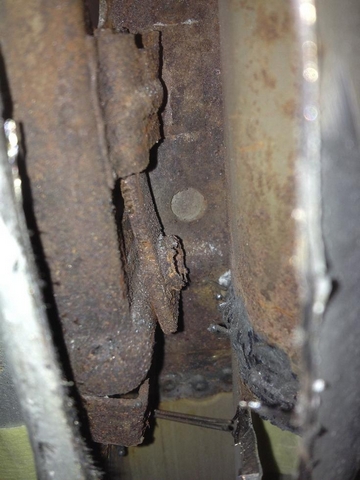 Bent 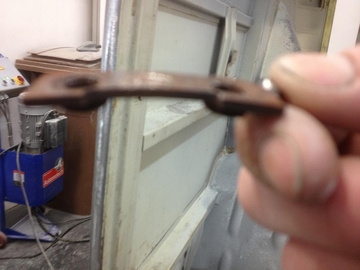 straightened then re fitted and welded 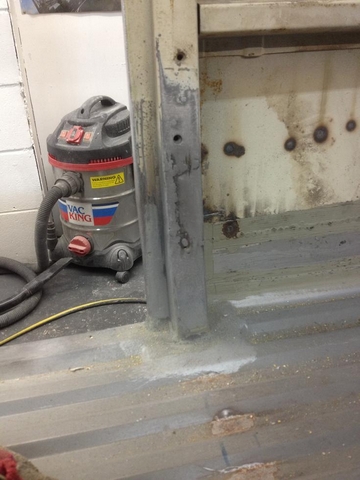 Now back in it's place 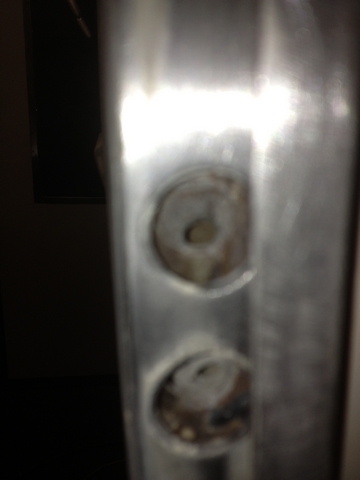 Roof rot found What we cut out, a previous repair !!!! 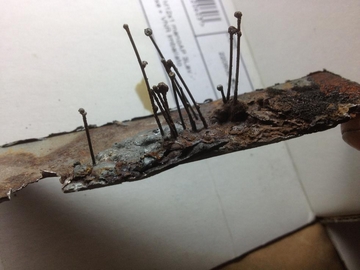 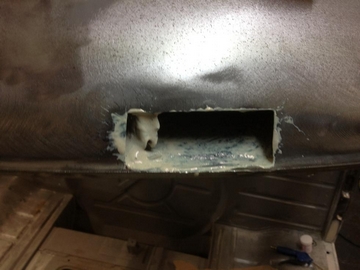 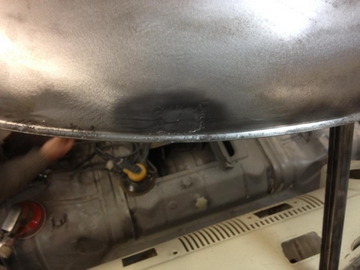 Splits welded 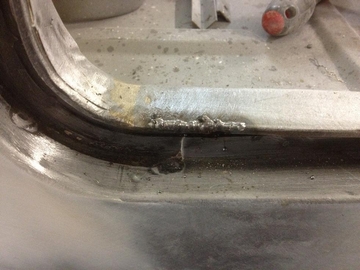 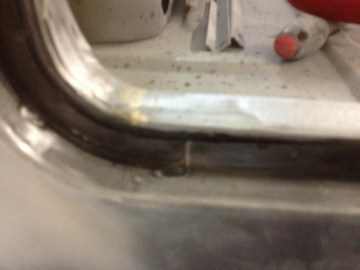 Samba roof windows needed a lot of attention 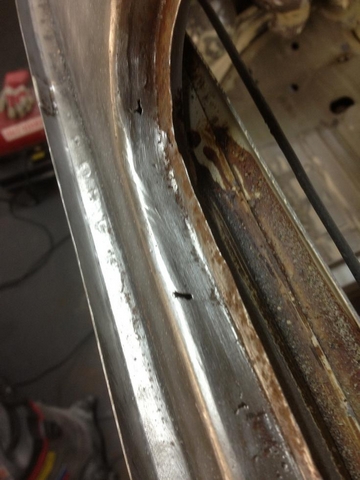 Holes brazed and frames re shaped  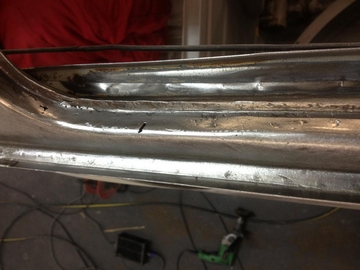 Many grind marks and cuts found in the metal 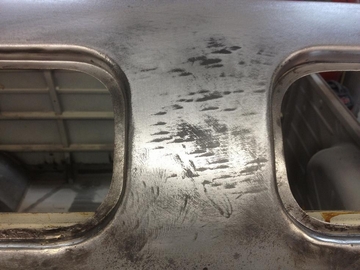 Inside prepped 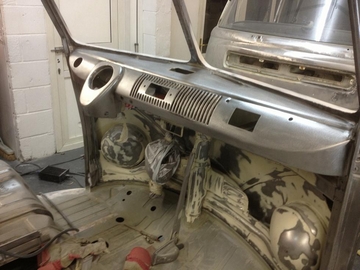 Hard work..... blood, sweat and marks to prove 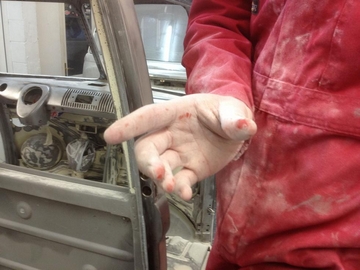 Gutters in poor shape 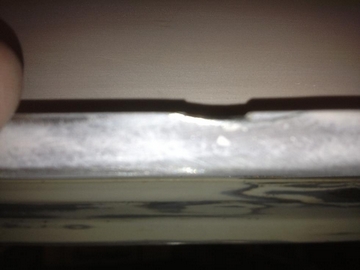 Window latch fixing found on floor 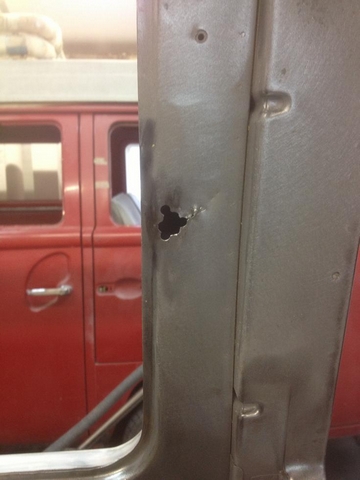 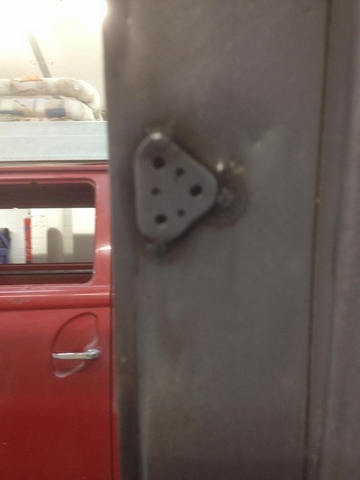 Inner arch showing daylight  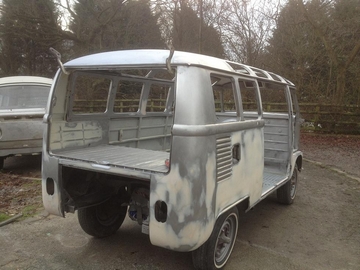 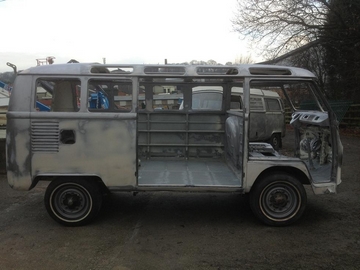 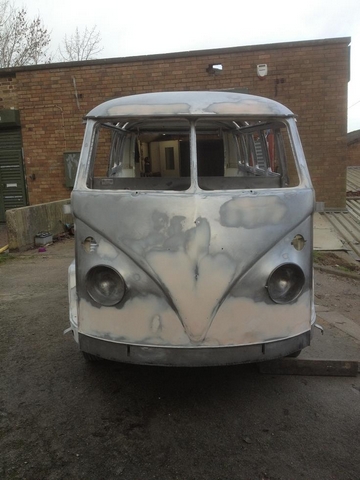 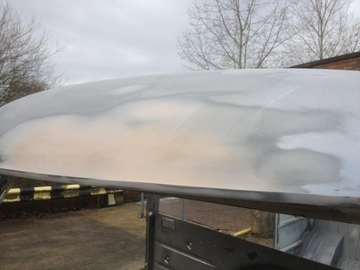 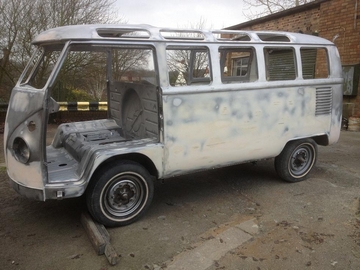 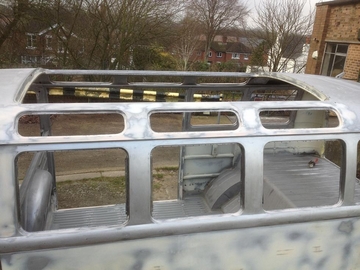 Inside repaired where necessary 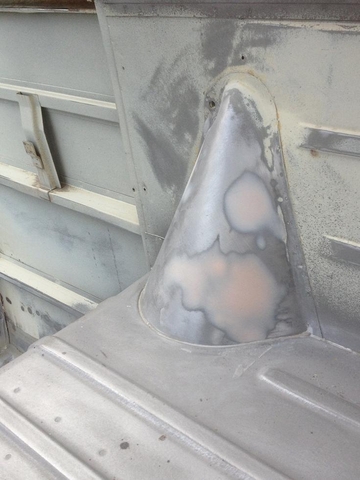 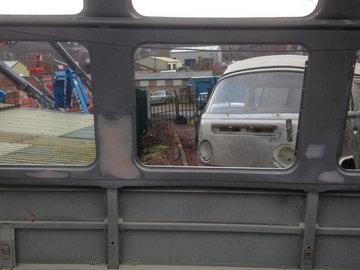 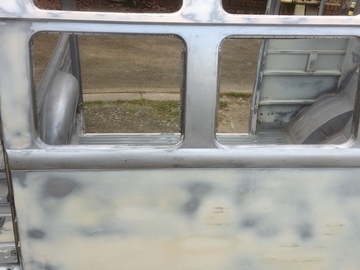 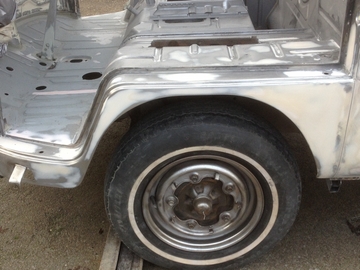 External seams looking more uniform now 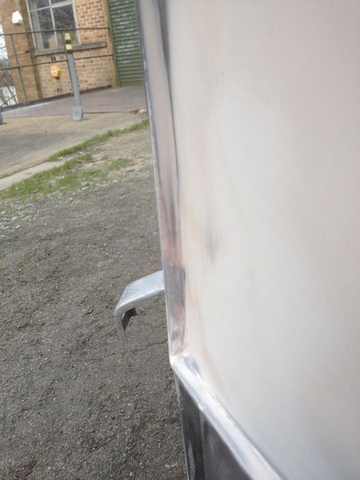 Engine bay blasted and repaired 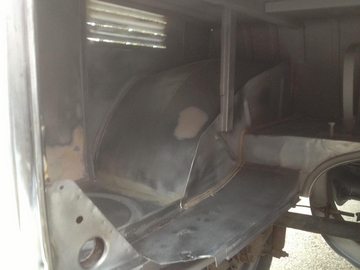 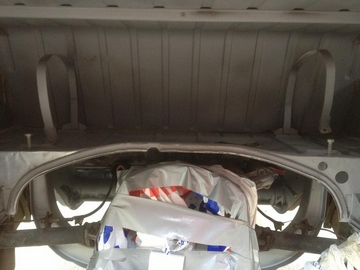 Inner arches blasted and re sealed 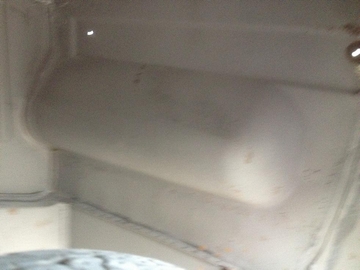 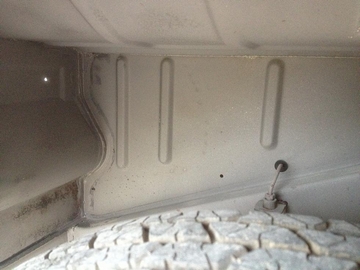 Shell baked at 65 degrees for 40 minutes then Epoxy primed tinted white 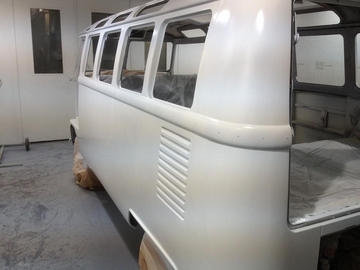 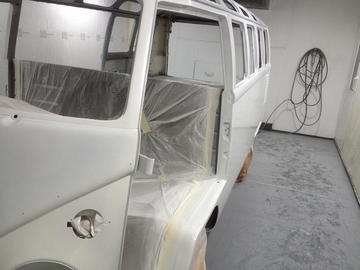 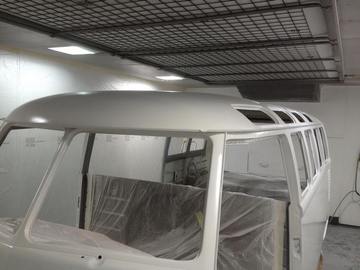 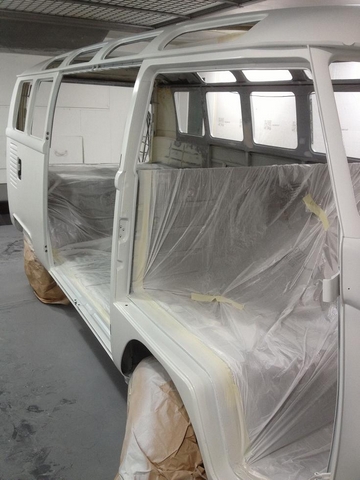 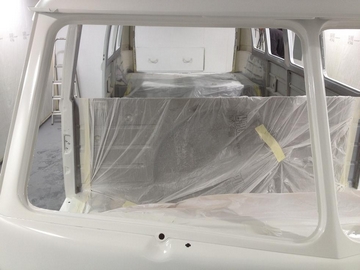 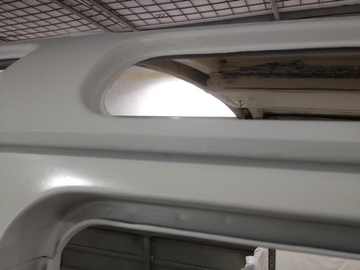 Followed by 2k primer/surfacer 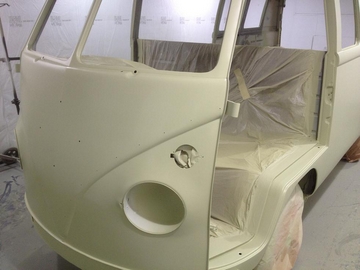 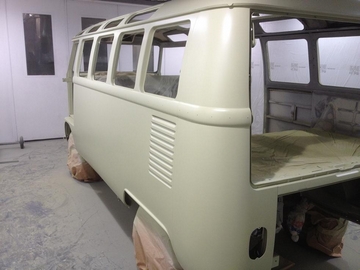 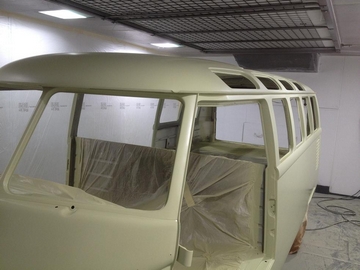 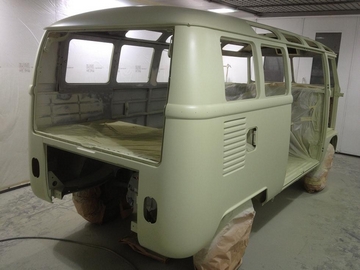 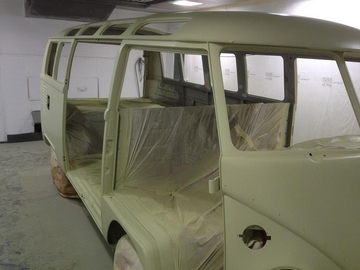 Inside & Engine bay fully prepped and cleaned 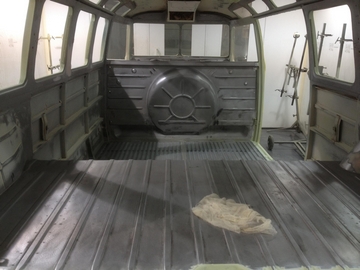 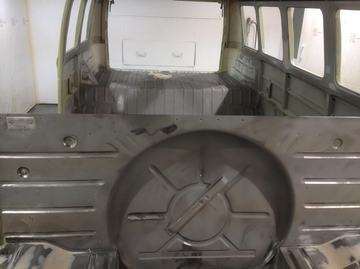 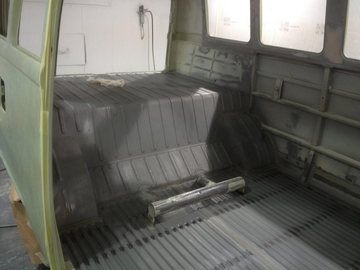 Epoxy Primed   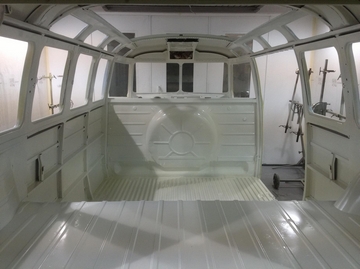 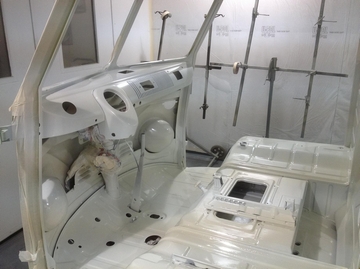 Top Coated in lotus White 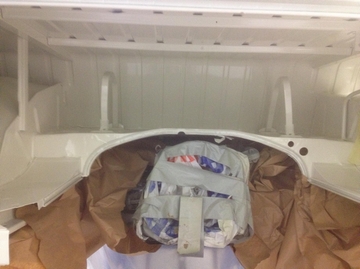 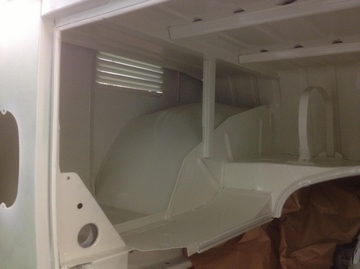 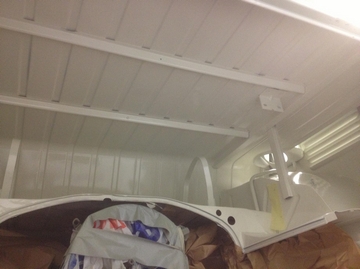 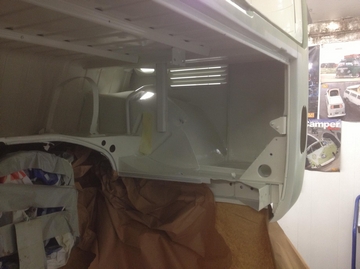  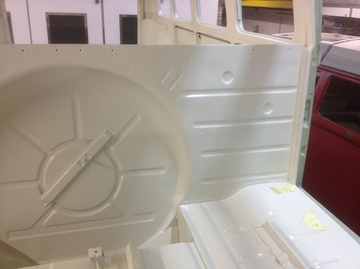 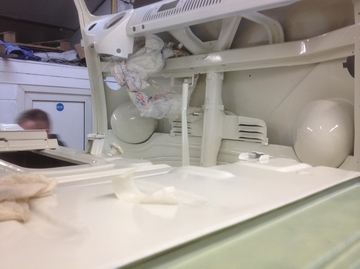 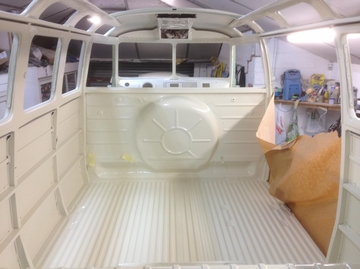  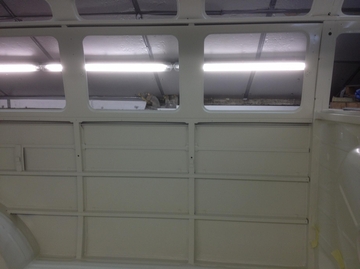 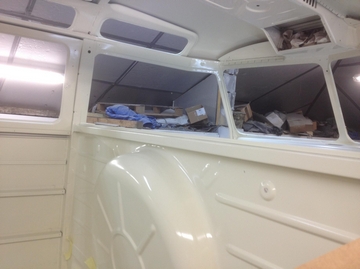 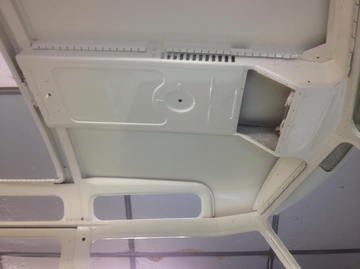 Little bit of rot on the chassis 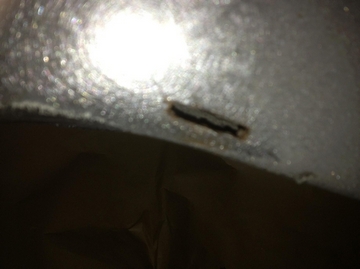 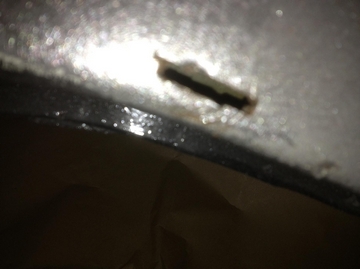 Welded and finished 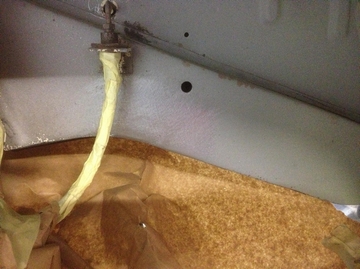 Inner Wheel arches primed and sealed 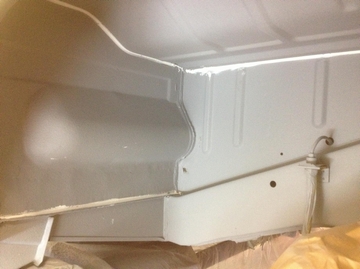 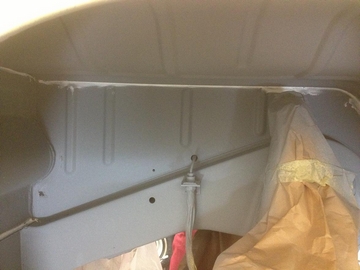 Anti chip coated to stop stone chips  Top coated in lotus white 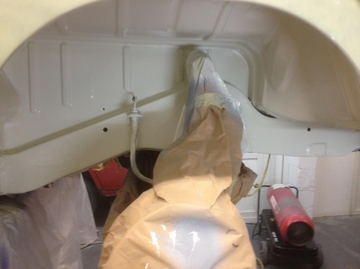 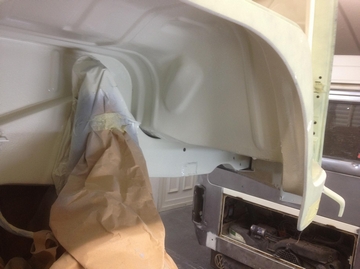 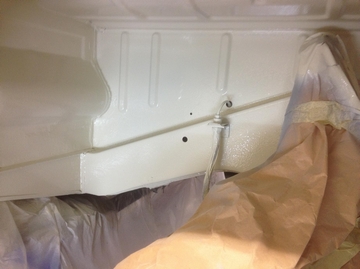
|
||
Comments ( 1 ) - Add Your Comment
|
||


